Corn and Bean Tortilla Lasagna with Avocado and Home-made Cheddar Cashew Cream sauce.
Can I just call this Mexican Casserole? Good. Much simpler.
And if you haven't seen my post on DELICIOUS
Italian Lasagna, check it out! Sure to please the whole family with a one dish wonder.
And, speaking of one dish wonders. Have you ever noticed that plant based world is a
LITTLE short on casseroles?
I am a casserole lover. This Cheesy Mexican Casserole totally meets my needs. Especially because it is oil free when made with my homemade cheddar cashew cheese!

My most recent passion has been to figure out how to create more casseroles that are super family friendly. I've got some pretty good ideas stewin' around in my brain.
Not only is this casserole very family friendly, it is very fast and easy. I don't think I have ever made a casserole this fast and easy. Whether it was plant based or not!
The basic idea is that you take cooked pinto beans (homemade in your crock pot or pressure cooker, or store-bought in a can) and mix them with tomato sauce and spices.

I am sorry my beans are not very pretty. Whatever, right? I'm a mom and I only have like 3 seconds to take pictures of stuff before I throw it together and children and hubby gobble it up.

I am realizing just now that I bought practically all the ingredients for this recipe at Costco (they sell avocadoes, frozen corn, dry pinto beans, onions, limes, white corn tortillas, tortilla chips, tomato sauce, spices, etc) No need for a fancy shmancy specialty store here. You could also get all the ingredients at Wal-Mart.

Layer it in a casserole dish: 1) Bean, tomato and spice mixture, 2) tortillas and 3) sliced avocado, black salt, lime juice, and frozen or fresh corn kernals.
Repeat.
Except this time instead of avocado and corn kernels, top it with crushed tortilla chips and homemade cheddar cashew cheese sauce.

Okay, my mouth is watering. I love this dish!
My family hates Daiya cheese. SORRY DAIYA! I know it is so popular in the vegan community. But for some reason, none of us like it. So when I set out to make this recipe I knew that it would fail if I used store-bought fake cheesy. In comes homemade cashew cheddar cheese. The trick with this stuff?
Don't use too much.
Notice I didn't completely douse and drown the tortilla chips in cheese. They are not all covered. It tastes better this way! This sauce is really thick and should not be over-used.
 Cheesy Mexican Lasagna
Modified from
Dreena Burton's "Eat Drink & Be Vegan"
Ingredients:
1 can (14-ounce) tomato sauce
1 tsp chili powder
1 1/4 tsp cumin powder
1 tsp dried oregano
1/8 tsp allspice
1/4 tsp (rounded) sea salt
Freshly ground black pepper to taste
1/2 tsp chipotle hot sauce (I used Tabasco brand)
1/4 tsp agave nectar
2 medium cloves garlic, finely minced or pressed
1/3 cup onion, diced
1 can (14-ounce) pinto or black beans, rinsed and drained, about 1 3/4 cups)
6-8 (6-inch) corn tortillas
1-2 large avocado, thinly sliced
1/2 tsp sea salt (I use black salt from Amazon.com)
3/4 cup frozen or fresh corn kernels
1 1/2 tbsp fresh lime juice (about 1 lime)
1/2 cup tortilla chips, crushed (I ended up using about 1 and 1/2 cups)
3/4 cup vegan cheese, grated (optional)
OR 1 recipe Cheddar Cashew Cream Sauce (recipe below)
1/4 cilantro leaves, chopped (for finishing, I omitted; for kid-friendly version)
Fresh lime wedges (for garnish, a must!)
Cheddar Cashew Cream Sauce:
I used to make this cheese with twice the amount of roasted red bell peppers (pimentos) but the taste was too overpowering. I found that reducing the amount of pimentos by half produced a much more appetizing cheese sauce.
Ingredients:
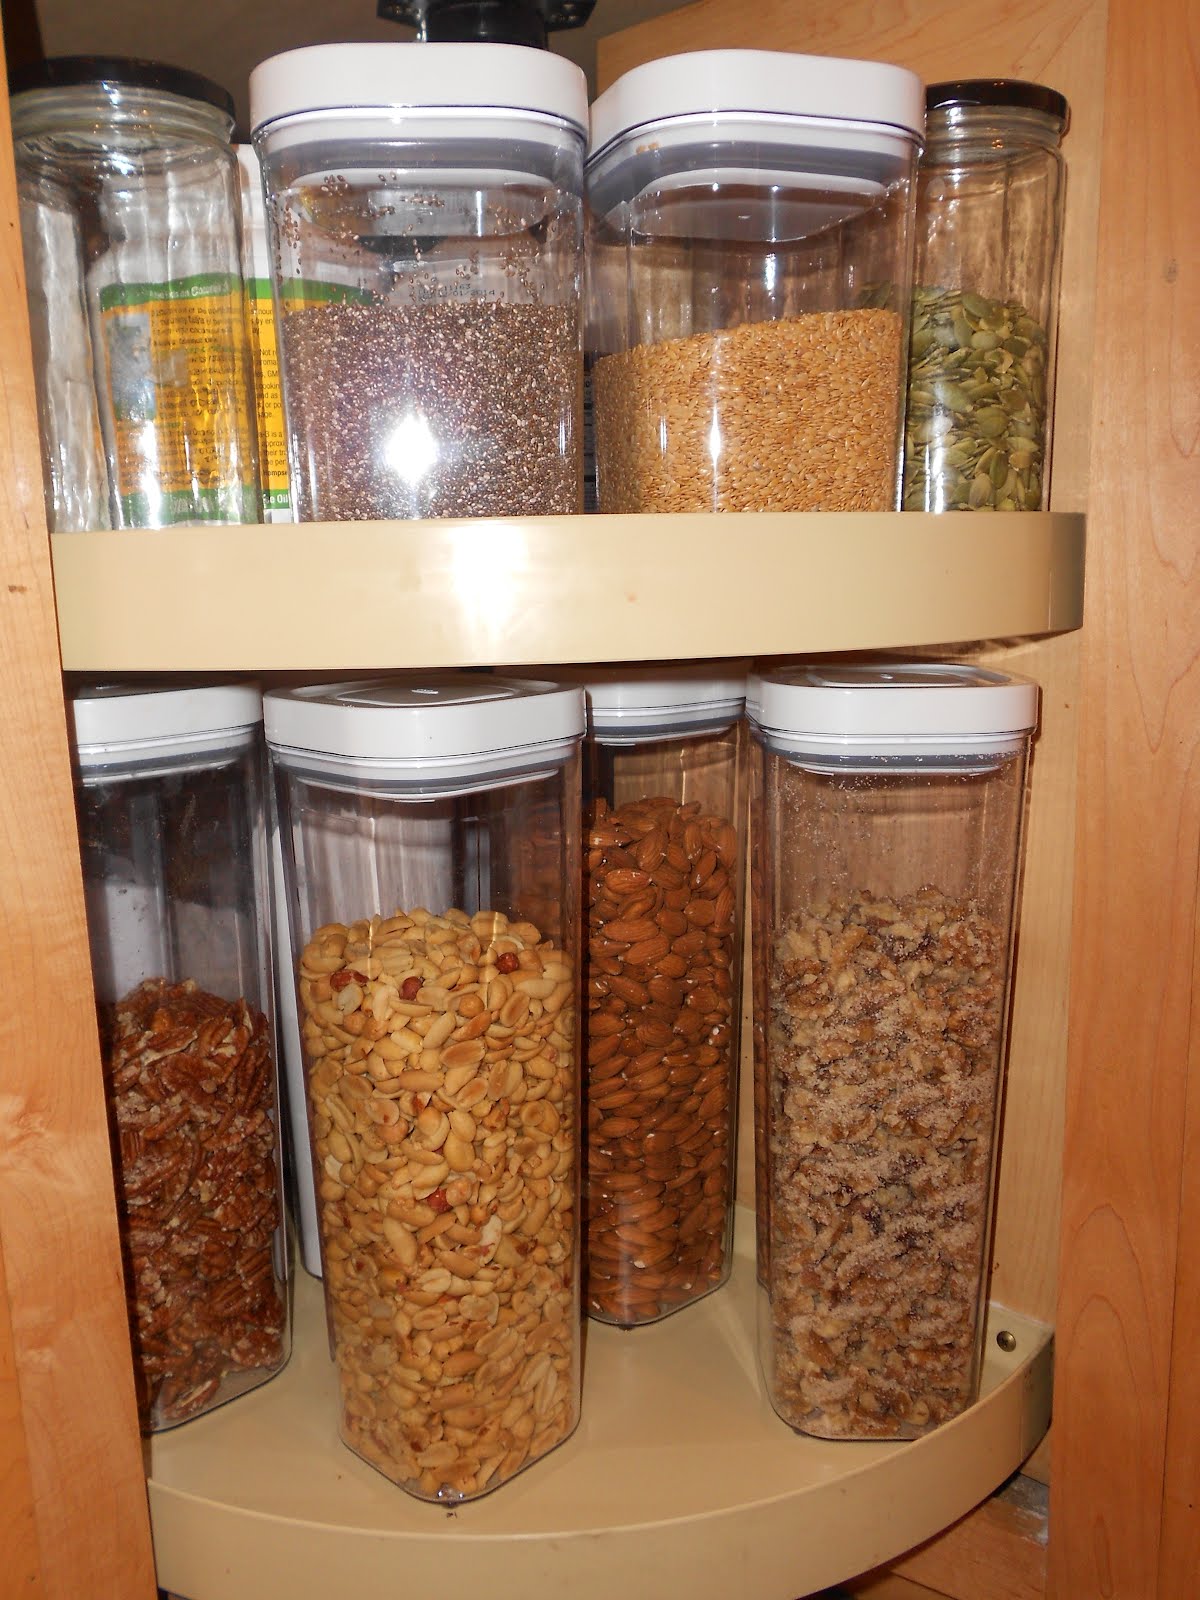
1 cup raw cashews
2 cups water
1/4 cup pimentos (roasted red bell peppers) measured carefully
1 1/2 teaspoons salt
2 teaspoons onion powder
2 tablespoons food yeast flakes (nutritional yeast)
1/2 teaspoon garlic powder
Instructions for cheese:
Blend smooth (about 2 minutes) and then bring to a boil in a saucepan on the stove, stirring until thick. Use for pizza, casseroles, lasagna, burritos, etc. Because you are only lightly covering your Mexican casserole with this cheese, you will have leftovers. I recommend pouring these leftovers into a gallon freezer ziploc baggie and immediately freezing it. It thaws quickly if placed in hot water in the sink for future cheesy uses.
Lite cheese option (lower fat): Use only 1/2 cup cashew nuts plus 1 tablespoon cornstarch.
Instructions for Casserole:
1.) Preheat oven to 400 degrees. In a large bowl, combine tomato sauce, chili powder, cumin, oregano, allspice, 1/4 tsp salt, pepper, hot sauce, agave nectar, garlic, onion, beans, and stir to mix well.
2.) Lightly oil or spray a 9X13 baking dish with cooking spray. Pour half of mixture in baking dish and tip back and forth to distribute evenly.
3.) Place half of tortillas on top of mixture (use 2 whole tortillas and cut a third and fourth to cover spots; or cut them all into strips).
4.) Place avocado slices on top of tortillas and season with salt. Distribute corn kernels (no need to thaw if using frozen) over avocado, then drizzle with lime juice.
5.) Top this layer with remaining tortillas, spread with remaining sauce, and sprinkle with crushed tortilla chips, then cheese. If using cashew cream sauce, use baster or pastry bag to distribute evenly a light layer of sauce.
6.) Cover with aluminum foil and bake for 20 minutes, then uncover and bake another 7-10 minutes, until cheese is melted and casserole is bubbling at edges. If cheese hasn't melted, broil for 1-2 minutes. (Of course since the cashew cheddar cheese is already in liquid form, it is not going to melt. However, it will get slightly browned and perhaps crisp at the edges when it is done.)
7.) Remove from oven and cut into squares. Sprinkle with cilantro and serve with lime wedges.
Tips for serving: I served this with Spring Mix and chopped Zucchini salad topped with
Fresh Raspberry Pecan Vinaigrette. It made a great pair! And if you are crazy like me and love your steamed veggies, some lightly steamed broccoli or green beans sprinkled with salt and pepper would go great with this. Or, you can try lightly spreading your steamed broccoli with hot leftover Cheddar Cashew Cheese Sauce.
Eat up, and Enjoy!!!